Clear Skin Without the Confusion: What Actually Works
Clearer skin can boost your confidence in ways you didn’t expect—and I want you to experience that. Discover the skin care routine that could almost guarantee clear skin, starting today.
Clear Skin.. Loading!
Let’s be honest—who doesn’t want clear skin? I’ve noticed that when my skin is clearer, my confidence naturally goes up. I enjoy wearing makeup, but I’ve come to believe that instead of just covering up breakouts, we should focus on actually healing the skin when we can.
The skincare tips in this post aren’t just random suggestions. They come straight from licensed esthetician and facial specialist Keristen Jones, who truly understands skin and what it needs to thrive. These steps are designed for the everyday struggles—think whiteheads, blackheads, and mild to moderate acne. Of course, if you’re dealing with acne related to medical conditions, some of these tips may still help as part of your overall care.
If you’re currently dealing with acne, you’re definitely not alone. Millions of people are right there with you. My hope is that by incorporating this routine, you’ll begin to see real results—and maybe even reach a place where you don’t feel the need to hide behind makeup (unless you want to, of course!).
Makeup can be fun and empowering, but healthy skin makes it look even better. And when you're home and no longer need it, give your skin a break and let it breathe. It’s all about balance, care, and giving your skin the love it deserves.
If you're serious about clearing your skin and achieving that natural glow, here's a full breakdown of the routine that can help you get there. These steps are based on real-life results and a deep understanding of how our skin responds to care, not just cover-up.
Here are the supplies you will need:
Face steamer
Face wash
Skin-Care Mask
Face Serum
Moisurizer
Step 1: Steam Your Face – But Do It Safely
If you don’t already own a face steamer—run, don’t walk, to get one! A face steamer helps open up your pores, making it easier to deep clean your skin. This isn’t an everyday step—limit steaming to twice a week for most people, or up to three times max if you work out regularly. You will keep the steamer on from steps 1- 3 once you're done rinsing off your face scrub. Don’t get too close to the steam. It’s hot and can irritate or even burn your skin if you're not careful. During steaming, you’ll notice an instant glow. As your skin clears up over time, that glow can become your everyday reality.


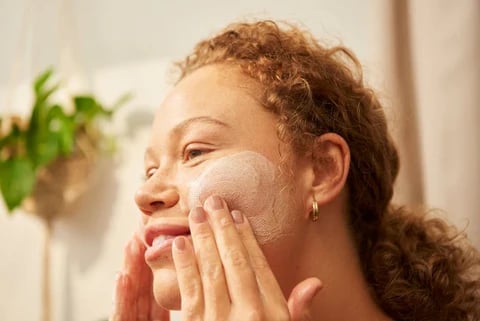
Step 2: Use a Gentle Cleanser That Fits Your Skin Type
Start your skincare routine by washing your face with a gentle, non-exfoliating cleanser. Make sure the product works for your skin’s oil production and addresses your specific concerns. Here are some ingredient recommendations:
Clogged or enlarged pores → Try niacinamide
Acne-prone skin → Look for salicylic acid
Dry skin → Use extra moisturizing formulas
Natural lovers → Consider African black soap
Brightening → Look for turmeric and lemon
Stick to a product that gives a good lather but doesn’t contain scrubbing beads—this is just your base cleanse.

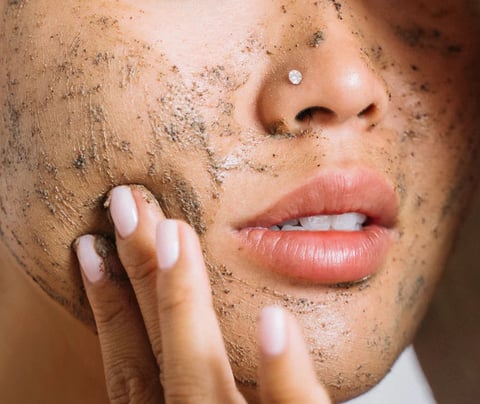
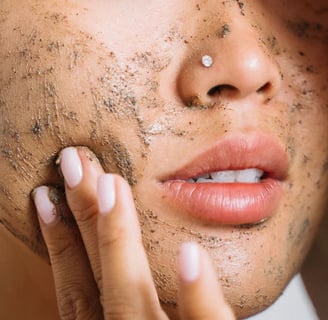
Step 3: Exfoliate Gently—But Effectively
We shed dead skin cells every day, and if they build up, especially with sweat, makeup, and dirt, they can dull your complexion and clog your pores.
Choose an exfoliator based on your skin sensitivity:
Sensitive skin → Go for fine beads or a labeled “gentle exfoliant”
Tougher skin → Use products with larger beads for a deeper scrub
Just make sure it’s doing its job—some "gentle" exfoliants are too light to actually remove dead skin.
Step 4: Blemish Touch-ups


While I don’t recommend picking at your blemishes, we all know the temptation is real. If you must, make sure your hands are clean and never press hard enough to bruise the skin. Our skin is fragile, and aggressive picking can cause long-term damage.
Stick to the routine and give it time—you’ll likely see your blemishes fade faster without picking.
Step 5: Tone To Calm And Prep
After cleansing and exfoliating, your skin might feel red or sensitive—especially if you’ve steamed or picked. This is the perfect time for toner.
Choose calming ingredients like:
Oats
Aloe vera
These will help balance your skin’s pH and prepare it to absorb the treatments that follow.
Step 6: Face Serum
Face serums are the real MVP of skincare routines. They’re jelly-like, absorb quickly, and deliver potent, targeted ingredients deep into your skin.
Here are a few to consider:
Aging/firmness → Collagen
Brightening → Vitamin C
Hydration → Hyaluronic acid
Pore control → Niacinamide
Use just a few drops and press it gently into your skin—this step makes a major difference over time.


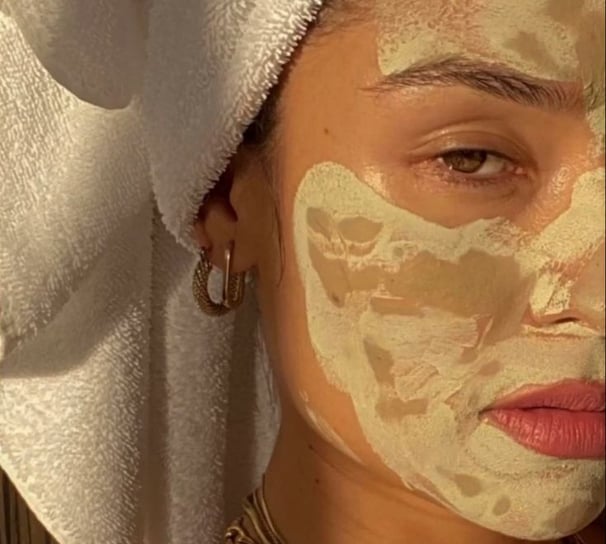
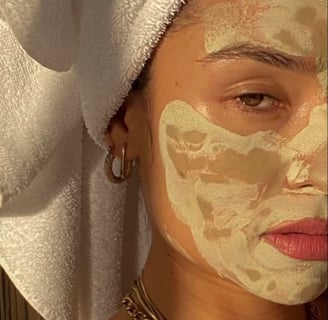
Step 7: Mask (Optional but Powerful)
If you want to go the extra mile, now’s the time to apply a face mask. Choose a calming mask—especially if you’ve exfoliated or dealt with blemishes.
You can use:
Peel-off masks
Rinse-off clay or gel masks
Look for ingredients that match your skin concerns (hydration, calming, brightening, etc.).
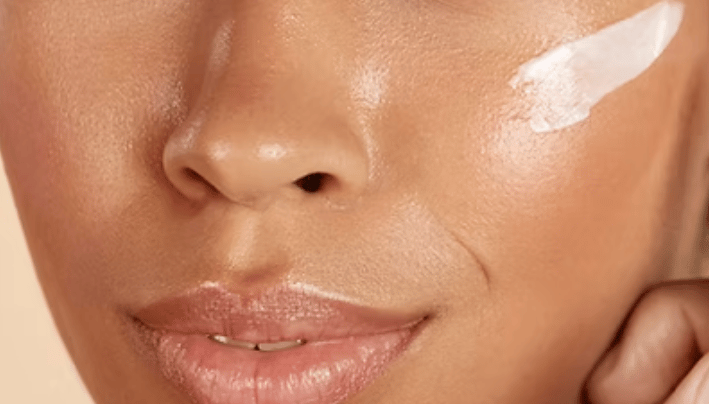
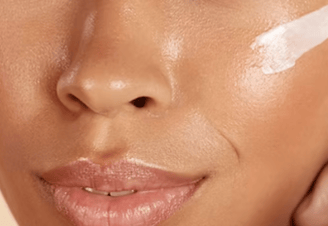
Step 8: Moisturize
Your final step is sealing everything in with a moisturizer. For best results, use one that matches your serum and toner. For example, I use The Ordinary’s Niacinamide Serum, and my toner and moisturizer both include niacinamide to stay consistent.
Choose a moisturizer based on your skin's needs:
Sweaty or oily skin → Lightweight, breathable formulas
Dry or flaking skin → Richer, hydrating creams
Dehydrated skin → Look for hydro-boosting ingredients
This step locks in hydration and creates a protective layer, helping all your previous efforts stick.